


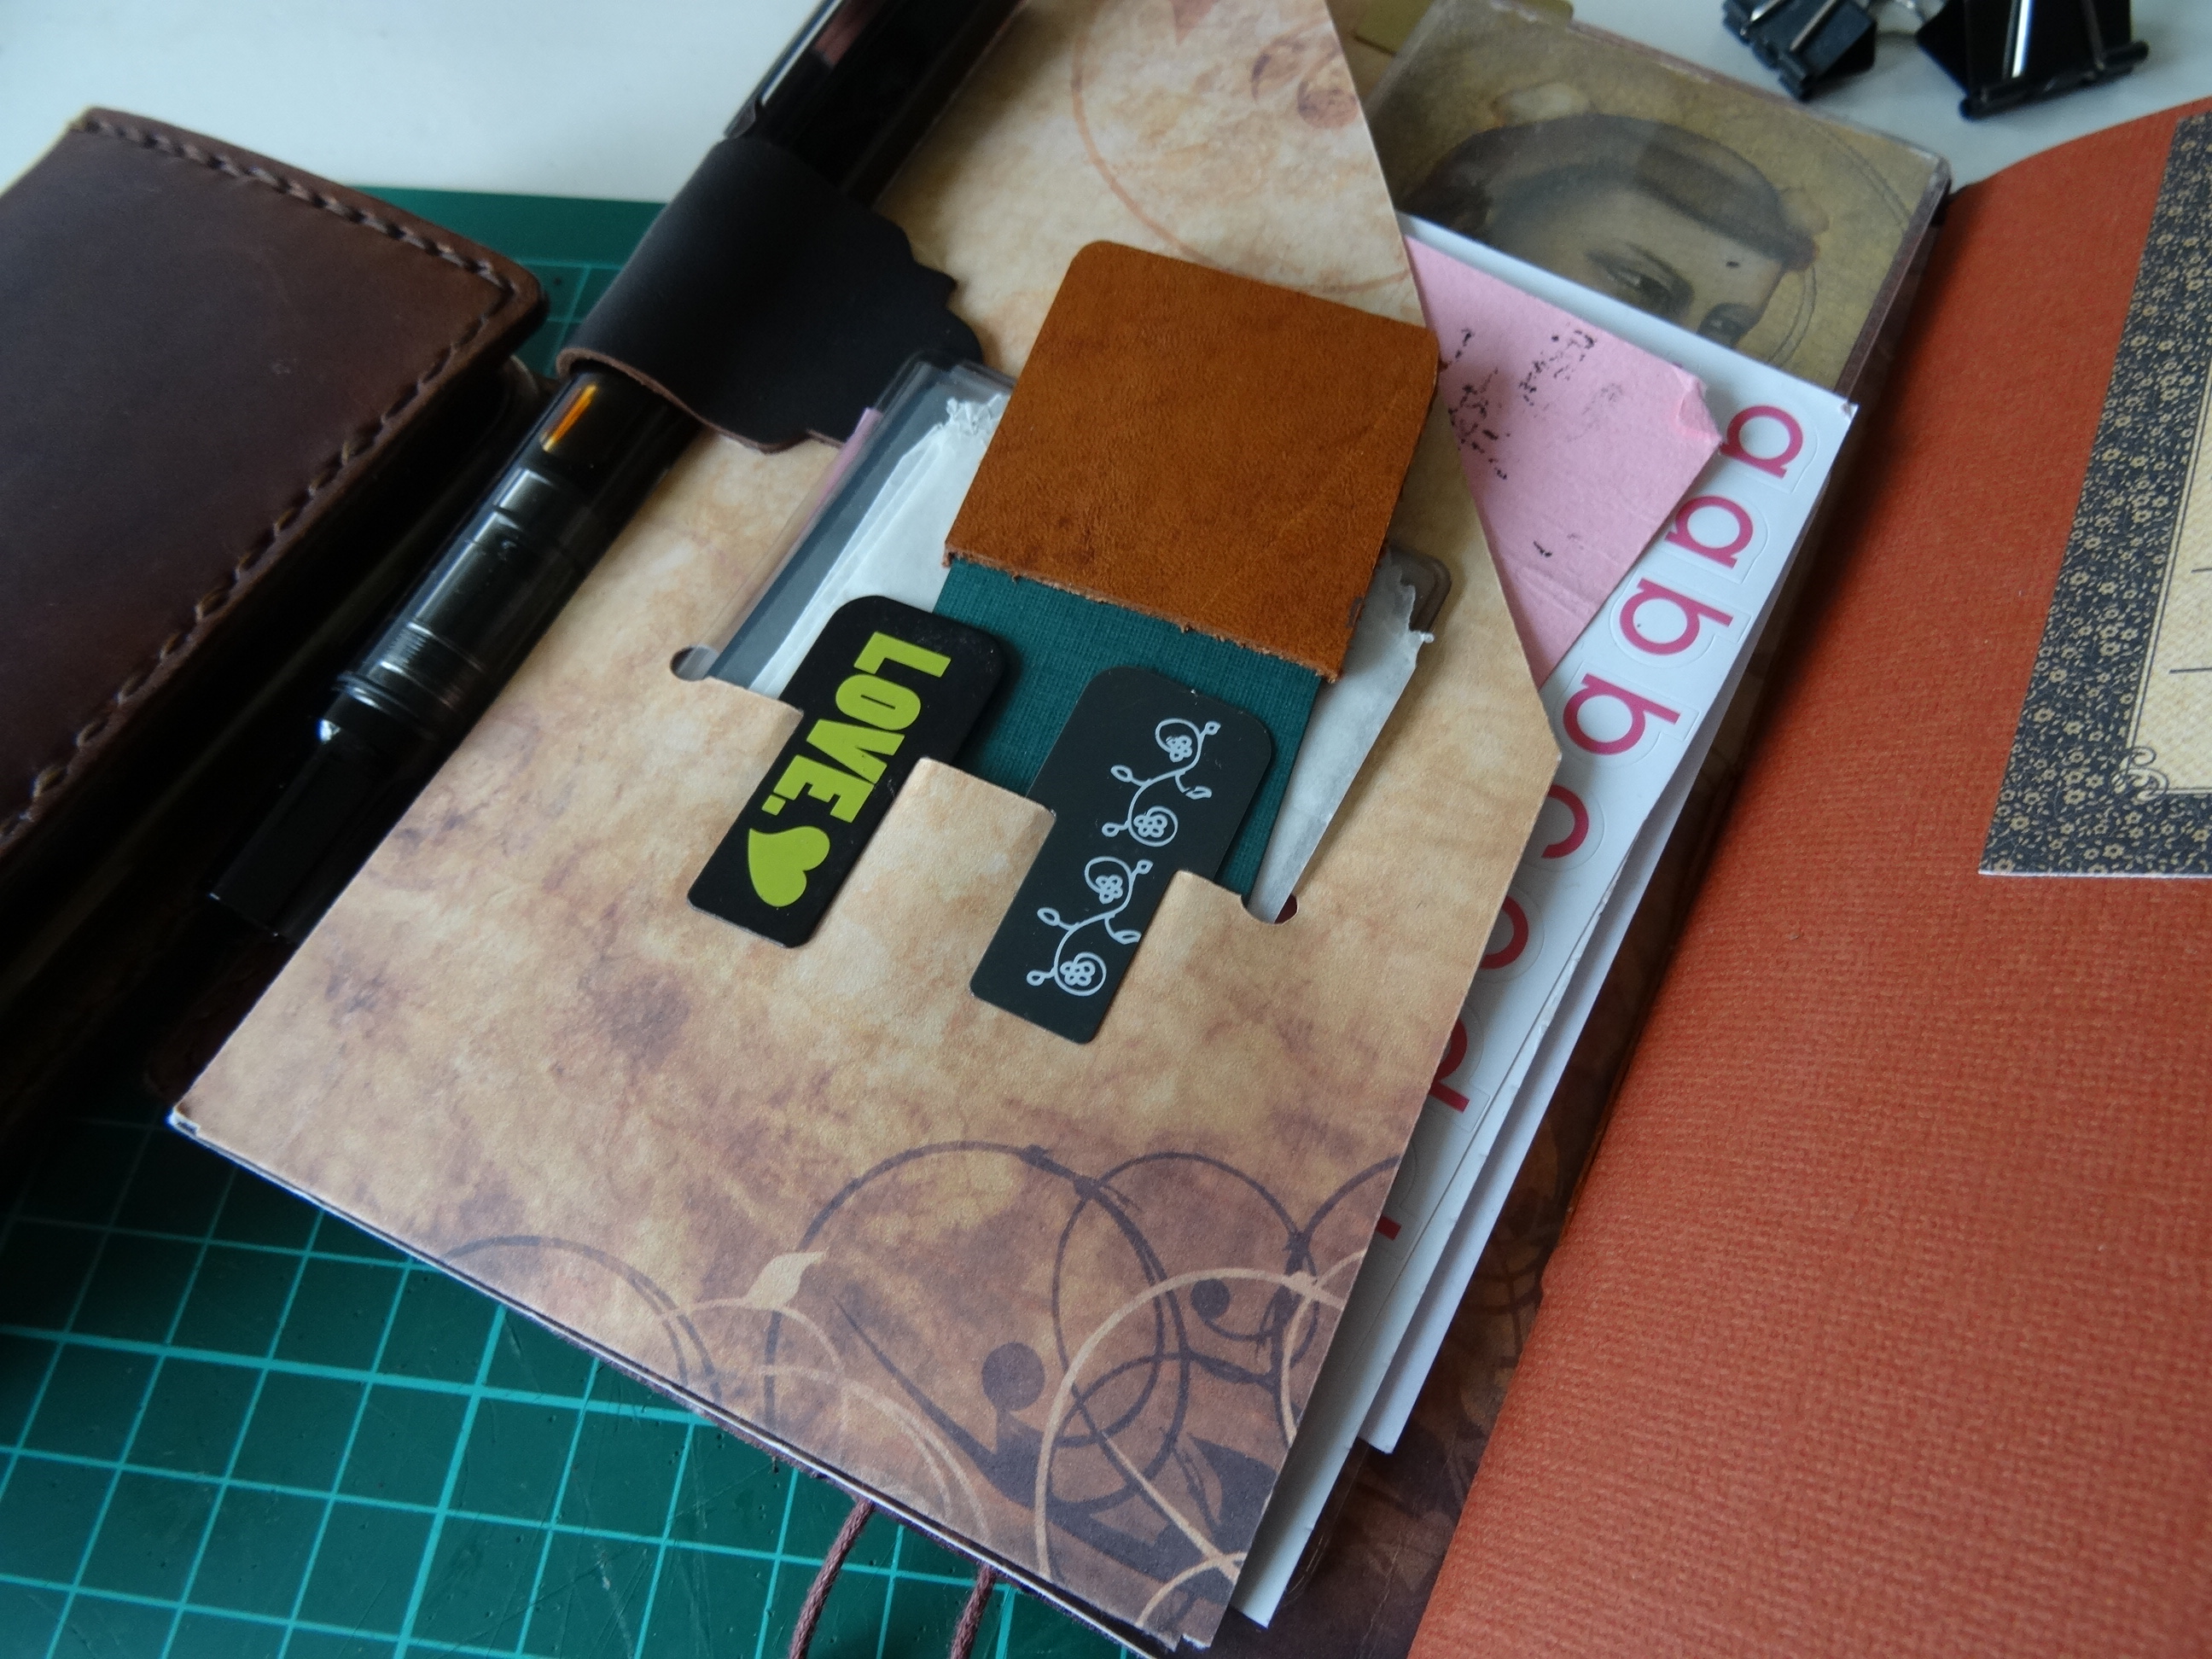
For the past 4 years I've been using my leather tipped bookmarks in my Traveler's notebook inserts. Many people have asked me if I would make and sell them for the shop.

Unfortunately I have not yet found a way to make these with a consistent look yet. I make them entirely by hand, which makes these slightly different each time. I think that is fine and even part of the fun for my personal use, but I somehow don't feel comfortable enough about that to make them for the shop.
I have made and sold a few before, but they are not available in the shop and I have decided after a lot of hard thought not to list them in the shop. Who knows maybe I'll change my mind in the future.
However they are fairly simple to make yourselves. All you need is cardstock, some scraps of leather, a corner rounder (or a jeans button to cut around), a sharp blade, a metal ruler and glue (white PVA glue will do just fine, any flexible glue will).

To use these kinds of bookmarks the way I do your inserts need to be sewn with a 3 point pamphlet stitch. so you can slide the bookmark between the pages.
You cut strips from the cardstock at about 3 cm wide and fold them so that one part of the strip has the same length as the width of your insert.
I suggest cutting the other part to about 5 cm (2 ") , but you can make it any length you like. Just not too short, since we need that to slide under the pages.

You also need 2 pieces of leather per bookmark you are making. You cut the leather to the width of the cardstock. I tend to make them square, but you can have them any way you like. These here are 3-3 cm (1.18"). You round the corners on 1 side of the leather, either with a corner rounder (one that cuts leather) or by putting the jeans button on the corner and carefully slicing around it with your sharp blade.

You also round the corners on your cardstock pieces. I prefer them to be 1/4".
The next step is to glue the leather pieces to the cardstock with the white PVA glue (some prefer e6000, but that's not really necessary).

make sure the glue is evenly distributed on the leather and glue them to the longest side of your bookmark. Making sure a tiny bit sticks out at the top.

The more you let it stick out the more your tab will stick out from the side of your insert. No need to make this bit very large, since the bookmark will slide under the pages, it'll stick out up to half a cm already.

Now you can glue the second piece on top of that and you will have created your bookmark. Let it dry for a bit, but I find I can usually use them right away.

While you're at it, you can make a few extra =)
You can leave them like this and insert them between the pages of your inserts.

Or decorate them to your hearts content, like I did with the ones below.

Use stamping, washi, or anything that you think would look cute.
To make them more durable, you can tape them with packing tape before you glue the leather to the tabs. I found that the leather stays perfectly on the packing taped bookmarks, so no need to worry that they will come off. And should they do, you can always glue them back onto the bookmark.
I always carry an extra with me, just in case I want to add a second to my insert. Another tip I have is to have a paper clip or magnetic clip at hand for when you reach the middle of the insert. In the middle there are obviously no pages to slide the bookmark under, so I use the clip to attach the bookmark to the elastics. Often I keep a magnetic clip on my bookmark, because I think it looks cute.
I hope you found this useful. Have fun making your bookmarks and if you have any questions, don't hesitate to leave them in the comments.
Have a wonderful week,
xoxo Monique
Leave a comment